Part 6: Even Flow
#6 - Even Flow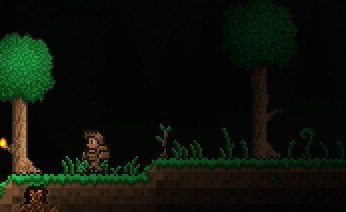
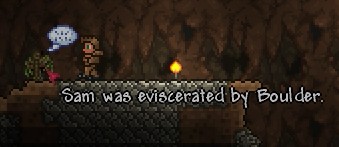
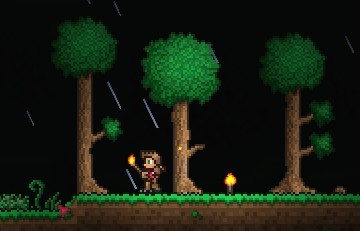
I told you Sam would live again. Hello everyone, and welcome back to Rivershire.

Hello Dye Trader, goodbye Dye Trader.
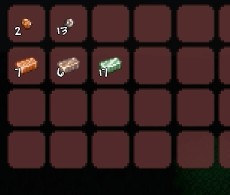
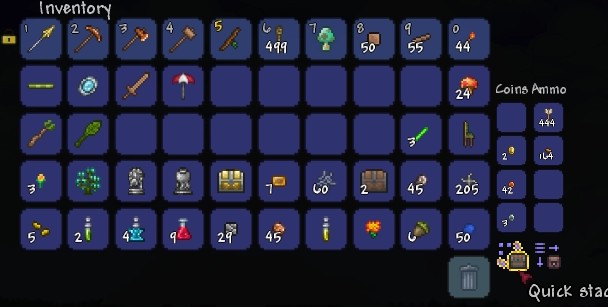
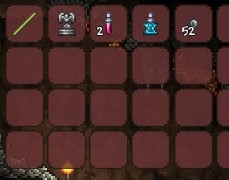
But before we head back down to recover our money, I want to show off another neat feature that chests have. Pictured here is what the minerals chest looks like. The top row has the raw ore, while the second row has the bar created from it. I find that this sorting method helps me visually keep track of how much of anything I have at a glance.
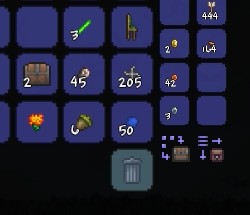
But whoops! I accidentally closed the chest before I could put in these 45 pieces of iron ore. What to do?
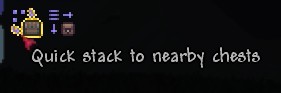
This little button here is the answer! If a nearby chest has any amount of something we have in our inventory, we can press this button and the game will automatically distribute the items into the proper chests.
Before...
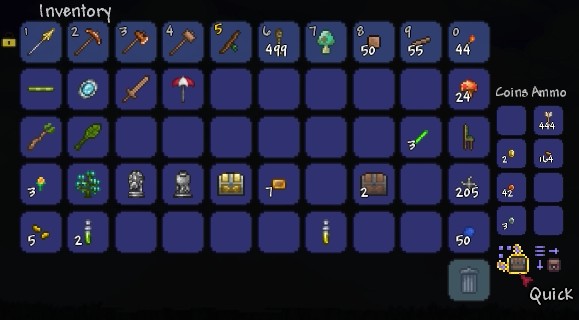
And after!
You can also quickly place items in chests by shift clicking on the item if the chest is already open.
Anyway, let's try that again with 100% less death to boulders*.
* - Death to boulders not necessarily guaranteed to be lowered.
Terraria Soundtrack - Underground
The good news is that retracing our steps takes almost no time at all. As a further bonus, the boulder traps are once only. So once they're triggered, you don't have to worry about setting them off again.
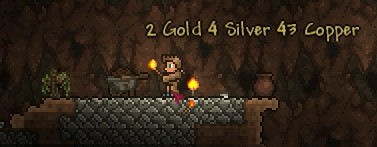
We got all our money back, too. Plus there's a new thing to look at just over to the left. But first...
Touchplates can be mined without setting them off the first time. So if you're lucky enough to see it first, you can deactivate the trap.
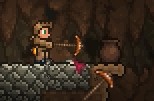
If you equip the touchplate on your hotbar, you can also see where the game generated any nearby wires. In this case, we can see just how the boulder fall trap worked in its beautiful, deadly simplicity. This will make a lot more sense much later on, when we can start working with wires ourselves.
Looking at your own tombstone is kind of fucked up.
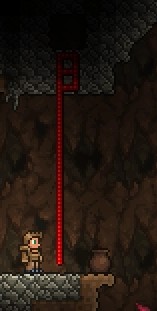
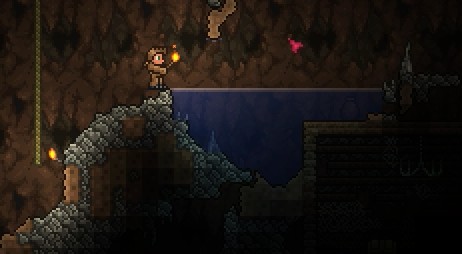
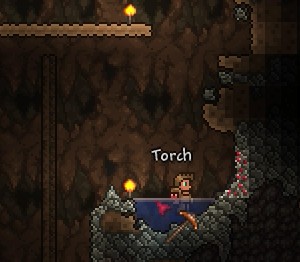
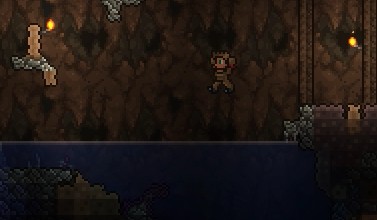
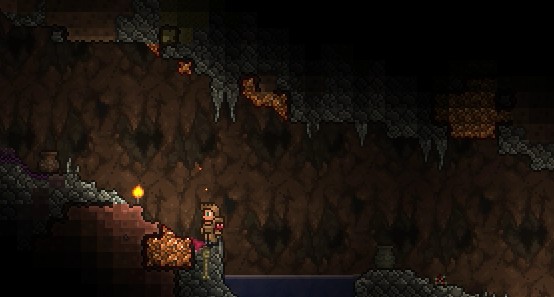
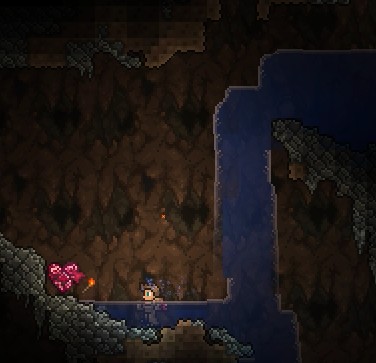
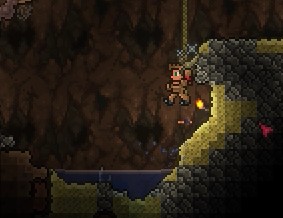
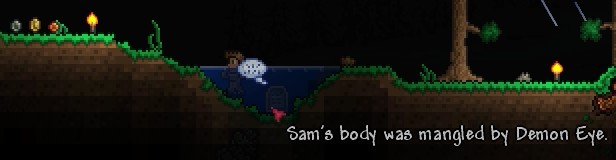
Anyway, before we continue on, I want to show how water works. So we're going to mine out the bottom of this pool we fell into last time.
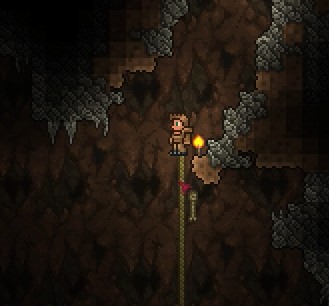
As you might imagine, water flows until it goes down as far as it possibly can. So in this case, we have a pool of water emptying out into the caverns below. I should point out that flowing liquids will "uproot" torches that you've placed.
Continuing on...
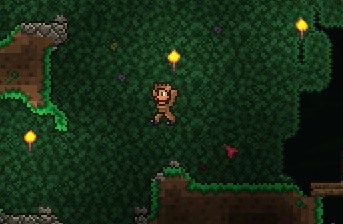
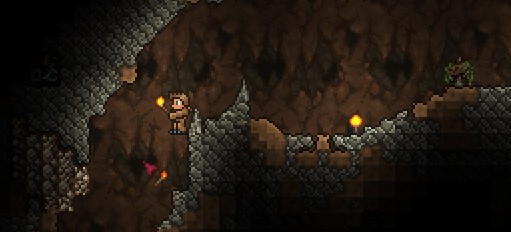
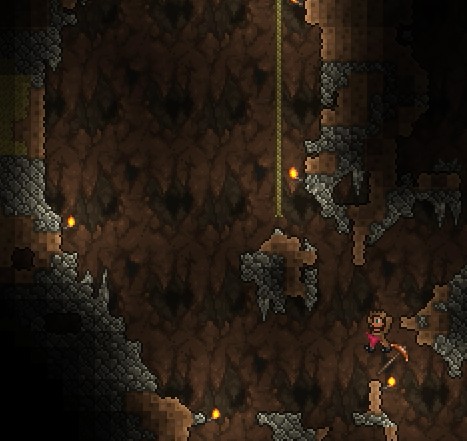
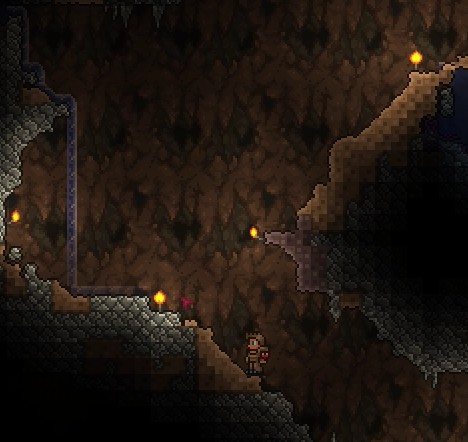
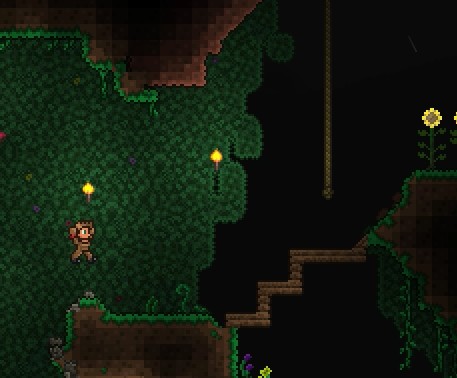
There's not a lot to say about exploring caves. It's where the bulk of the game's content lies, but most of the time it's the same old, same old.
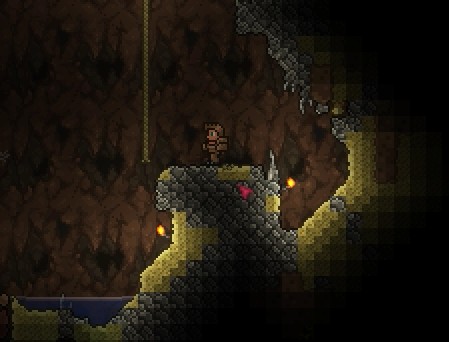
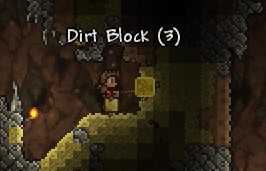
We must be near the desert. Look at all of this sand!
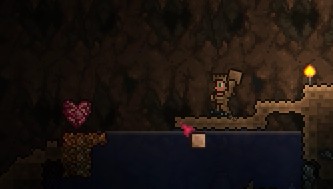
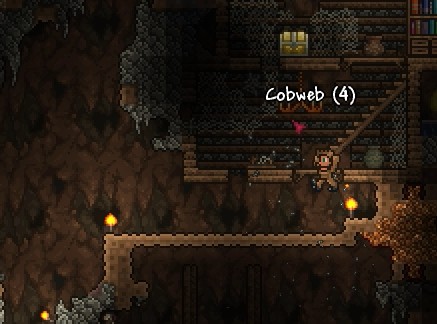
A little ways to the left and we finally find something worth mentioning.
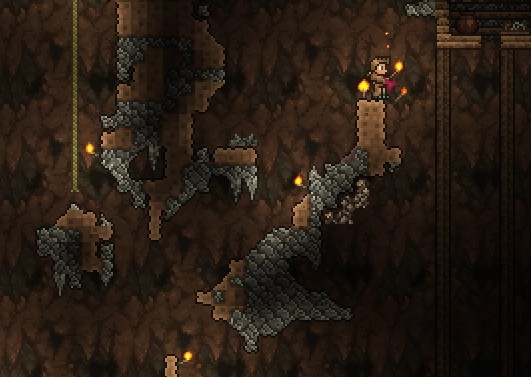
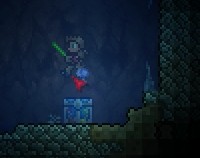
This is a Life Crystal. I don't use it straight away for some dumb reason, but it increases our maximum health by 20 points. So in order to cap out, we need 15 life crystals. (15*20 = 300 + 100 base = 400 maximum health)
In the super early game, we don't want to use too many. Bad things start happening once you have 200+ health. So we want to be ready before we go over 200.
I also elect to retreat back to the right and go down instead. It does pay off, though.
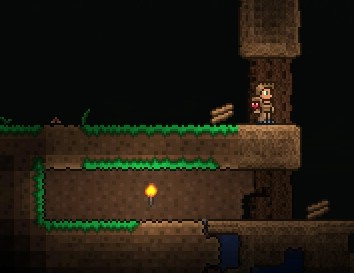
Yet another underground cabin!

Gotta find the way in. I would mine out the top, but I don't like creating entrances for enemies. Underground cabins, I feel, are supposed to be a place for the player to catch their breath for a moment.
So we're going around the long way.
Nearly there...
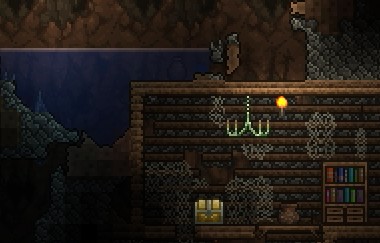
Tah-dah!
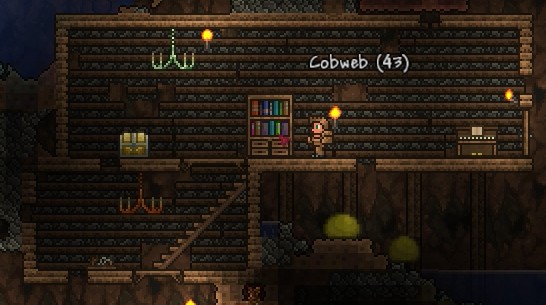
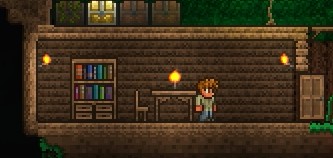
This was someone's home away from home. A bookcase and a piano are pretty luxurious for an abandoned cabin under the ground. Anyway, let's check out the chest.
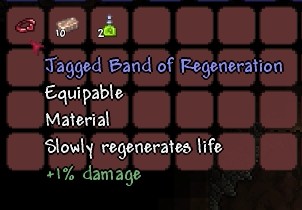
A Band of Regeneration is a pretty useful find. The potion is a Night Owl Potion. The game claims it increases night vision, but what it really does is just make torches put out light farther for a while.
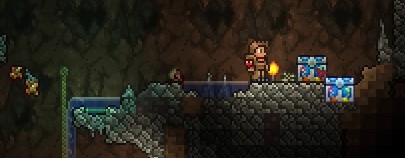
Down under the house, we find some rubies in the wall.
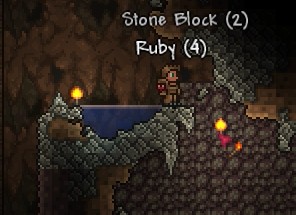
There's also a small chamber with a naturally-occurring backwall behind the rubies.
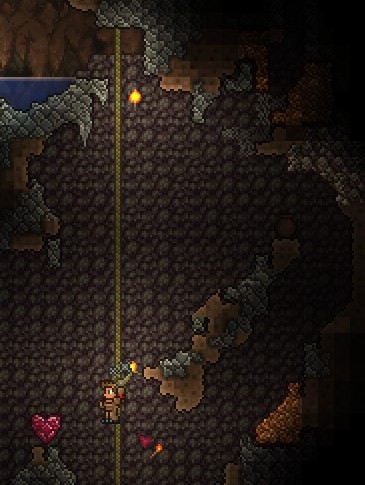
Some iron, lots of copper, and yet another Life Crystal? Sounds great to me!
There's even some more topaz down at the bottom of the small chamber.
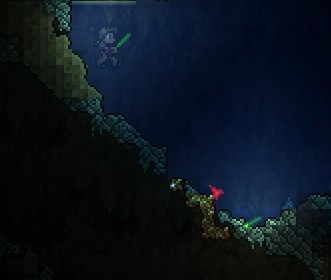
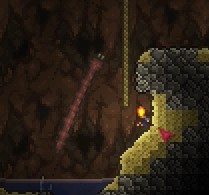
At this point I pulled out the world map for some reason. I'm glad that I did, though.
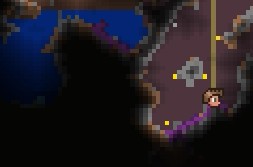
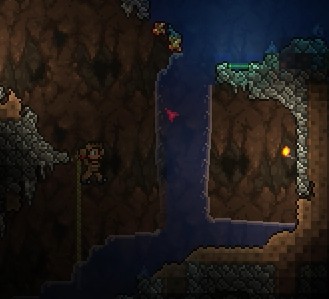
You can dimly see that there's something at the bottom of the giant pool of water nearby.
Let's go investigate!
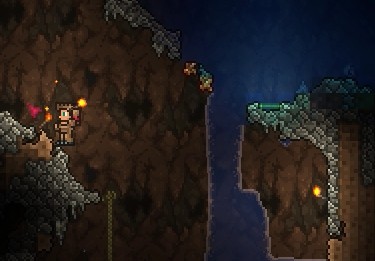
Water chests almost always have good stuff inside.
Because the bottom is so thin, we can easily drain the water into the tunnel below. Let's do that first, that way we don't have to worry about drowning after looting the chest.
Now to just wait.
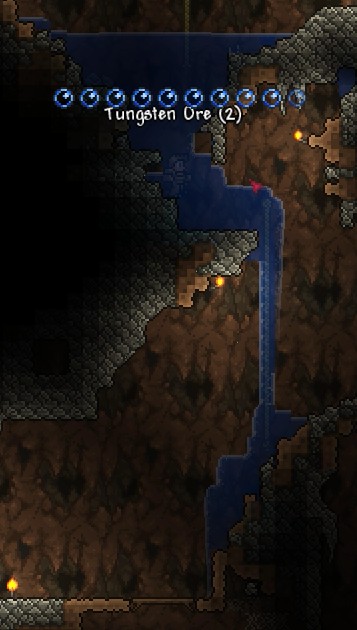
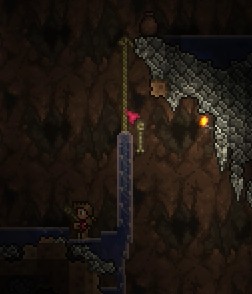
You can't see it, but trust me when I say that this tunnel we're in now connects directly to the one we saw earlier, near the desert. You remember where I turned back? Yeah, it connects to there. So we've gone in a gigantic circle. There's also a metric fuckton of copper in this tunnel.
See? Told you so. That upper torch is where the first Life Crystal was sitting.
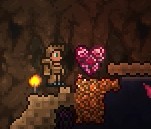
I got tired of waiting.
Oh hey, another Life Crystal. That makes three!
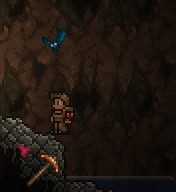
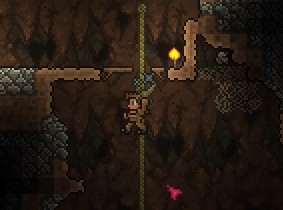
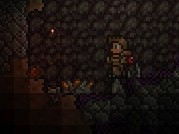
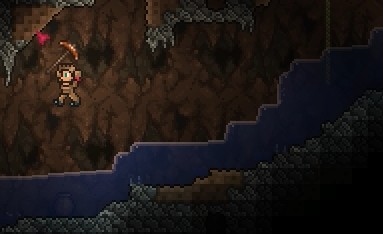
While waiting for the interminably slow water to drain, we meet a new enemy. This is the cave bat, and it is the annoyance of every person who has been underground in Terraria for longer than 10 minutes. They have almost no health, and they spawn way too frequently. Also unless you're keeping an eye out, the first time you'll probably realize one is nearby is when it starts flying into you, because of course they're also aggressive.
Basically fuck cave bats. Little bastards.
That's the last of the water draining down. Time to go collect our prize!
God DAMMIT. We got trolled... twice! To start off, the pink potion is a regeneration potion. You can probably guess what it does.
The first item is a breathing reed. It's like those things you see ninjas use in cartoons. As long as the top of the reed is sticking out of the water and into open air, you can breathe. It has its uses, but it's probably the worst possible item to get out of a water chest.
The second troll is the angel statue. Those things are a long-standing joke of the game. I'll let the wiki handle this one:
Terraria Wiki posted:
Before the 1.1 update, the Angel Statue could be neither placed nor sold, and had no apparent use in the game. It was (and still is, even after the update) the subject of a running in-game joke, whereby NPCs will make reference to its useless nature. It was speculated to be a replacement for developer testing items, to prevent the overpowered test items from being hacked in. It could also simply be an in-joke among the game's developers.
The angel statue is also the game's failsafe item. If, for whatever reason, the game can't process what item something is supposed to be - or if an item becomes corrupted data for some reason - the game will turn it into an angel statue instead. So you never really know if the game deliberately placed the angel statue, or if something messed up during worldgen.
That's enough spelunking for the moment. Our inventory is pretty full, so let's go back and drop off all the crap we picked up. Maybe we'll have enough for some new toys.
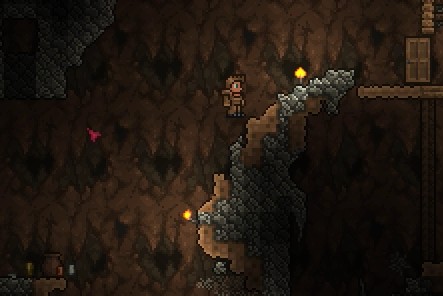
It was around this point of returning from the underground that I started to distantly hear the sound of a train. That means that the other underground annoyance has finally shown up.
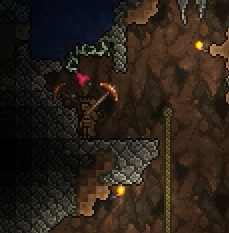
He takes a moment to show up, but there he is. This is the giant worm.
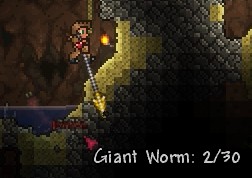
They don't have much health, but they always show up at the most inopportune moments.
For some reason, I decide the fastest way out is through this pillar of sand and dirt. Though this does give me a chance to discuss digging out sand.
You see, sand is one of a few types of blocks in the game that has physics enabled. So if you want to mine through some, you have to mine out the entire column, as the bottom block will instantly be replaced by the block that was on top of it. If the sand falls on top of you, or you get caught inside of the column as it falls, it'll hurt quite a bit.
Back on the surface at last!
It was about here that I remembered that we have a magic mirror.
I don't know exactly why I decided to go fighting enemies on the surface, but here's what it looks like when you use the Life Crystals.
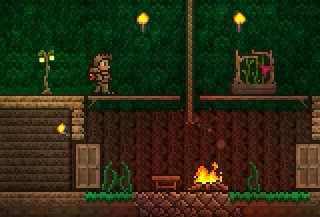
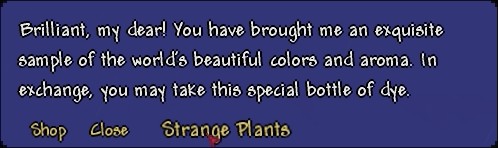
Finally, back at home. We have a few things to do before this update comes to a close. First off is talking to the Dye Trader...
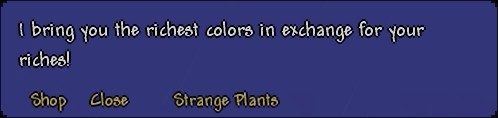
Hitting the Strange Plants button will turn in 1 strange plant in exchange for some randomly chosen dyes.
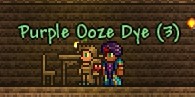
In this case, we got some Purple Ooze Dye.
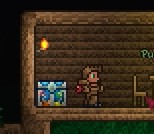
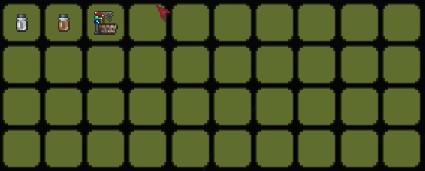
The water chest we got earlier is a perfect place to store a bunch of bottles of dye.
Like other NPC merchants, his inventory will expand as we do stuff in the game. But by default, the Dye Trader sells...
Silver Dye - 1 Gold coin
Brown Dye - 1 Gold coin
Dye Vat - 5 Gold coins - (Creates dyes from the various dye items I've been pointing out)
I forgot to show what dyes do, so that will have to come later. The quick explanation is that you can equip them in one of the slots next to your armor or accessories to change the color of that item.
For the most part, Strange Plant dyes are ugly as sin.
Moving on, Garrett gets the bookcase we found earlier. Maybe he can make good use of it.
For no particular reason, I think Dolgen would appreciate the piano. If nothing else, it makes his bedroom look less empty.
We... we won't mention some of the other shenanigans I got up to. Suffice it to say that the weapons we found underground aren't quite adequate enough to help us survive against the night. We'll have to fix that.
Anyway, that's enough for now.
NEXT TIME: You guys are really gonna hate me.